How Public Art works
Public Art is an iOS application that helps you discover new nearby street art.
I’ve been working on this project on my own, but it has a lot of technical moving parts. I will explain how all of the moving parts work and what I’m planning to do in the near future. By the end of this article, I hope you have the awareness of recreating the same behavior for your own project.
Background
First of all, the reason I am working on a street app discovery tool is not to build the next urban media empire.
Although that sounds nice. I started trying to preserve graffiti and street art with as much associated metadata as possible for future art connoisseurs.

At one time I was trying to make a street art media empire, through questions. I wrote a series of fragmented blog posts in 2013, that later grew into this. Most of the posts can still be found here: http://newpublicartfoundation.com/
Given the rate at which photos are uploaded online, I felt it would be a great opportunity to preserve the otherwise transient form of cultural expression that is found around the world. I don’t have a secret surveillance agenda or political motive. I understand the privacy implications of preserving this information, as well as the complicated legal potholes involved.
That all being the case, I feel it’s important that someone preserves street art for the future, and that’s what I’ll go into below.
Frontend
The front-end portion of Public Art is a mix of an Expo based React Native application with a few interspersed Ruby on Rails and React web pages. The React Native application is a stock Expo application with a modern Redux/React Navigation architecture.
Beyond Redux and React Navigation, I used a number of packages to help with speeding up development. I used a UI library called NativeBase which provides some helper components, but eventually transitioned to using React Native Elements. Both of these libraries were not necessary, but provided enough structure to speed up my process. The main tool needed in any good UI library is a good layout structure. For React Native, the most common layout technique I saw was to use flexbox.
The app is composed of primarily loading images and displaying mapped points. I initially tried to use a few helper libraries for gracefully loading images, but eventually found the best performance around using the React Native Image tag as is.

For the map, I depended on the Expo framework’s React Native Maps integration. I explored ways to use Mapbox, but to stay within the Expo ecosystem, decided not to. That being said, the React Native Maps is a great library with all of the application control needed highly responsive maps.
As mentioned above, I used Redux for the primary datastore of the app. For managing the application’s side effects, I decided to use Redux Saga. In the past few React applications I’ve built, I aired on the side of using Redux Thunks. I noticed in my last project that the ability to test Thunks was overly complicated and wanted to pursue a more testable solution. After some research, I decided the best bet was Redux Saga. While this took getting used to, I do see the value and intuitive nature of the Saga based datastore/side effect architecture.
Backend
The back-end of Public Art is a combination of a few different “micro services”. In other words, it’s composed of a few web applications that talk to each other over http requests. In addition, I have a linux box that runs a series of shell scripts and cron jobs that provide important functionality that will eventually be replaced with another “service”.

The primary backend and authentication works as a Ruby on Rails application running a few gems which I’ll explain below. The Rails app runs on Heroku and uses the Heroku Postgres and Redis hosted services. While this is a costlier way to operate (especially because I have free credits in two different hosting providers), the convenience really makes a difference. It’s easy to deploy, manage credentials, and spin up/down workers.
For authentication management, I use the ruby gem Devise. Devise is a familiar gem for any Rails developer that needs any kind of user profile/authentication system. In my case, the Devise instance is setup with a User model, but all the views and business logic is triggered with a token based REST api. This was tricker to get setup than expected, but eventually became the most flexible way to control user activity.
For image uploads, I use the ruby gem Shrine. Shrine is a modern implementation of some other common image management gems like Carrierwave, Paperclip, and Refile. The Shrine gem plugs into Amazon’s S3 and creates a simple means of caching image display formats for easy use.

For worker management, I use the ruby gem Sidekiq, which is a Redis job manager. Sidekiq handles all of my asynchronous actions, of which there are many.
Finally, for location related actions, I use the ruby gem Geocoder. Geocoder hooks into the Microsoft Bing location API to do reverse geocoding. This means taking a latitude and longitude point, and inferring a address.
Overall, the Ruby application handles all of the business logic for creating users, saving images, managing locations, and aggregating all of the information for the iOS frontend to display. All of this happens using various api endpoints that communicate with JSON.
Data/Content
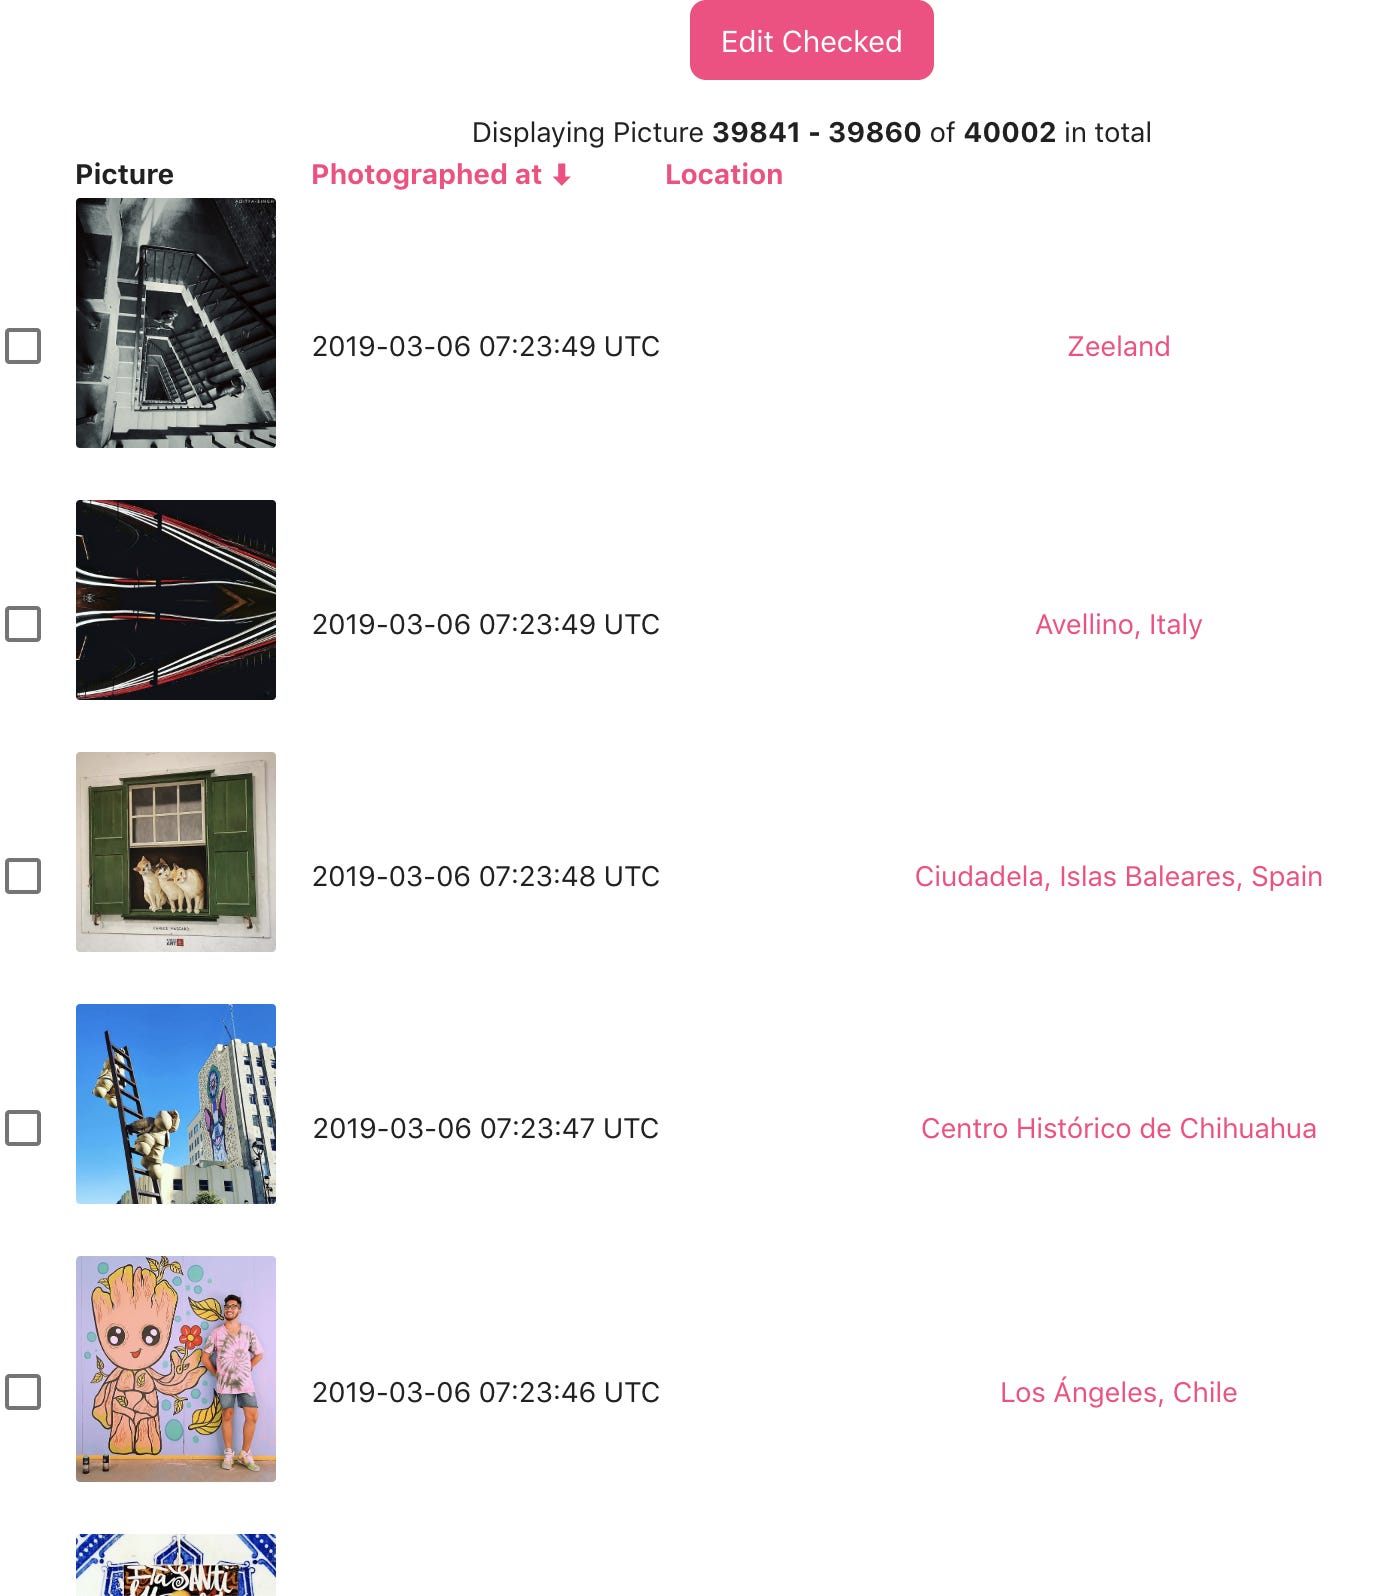
The Public Art app provides a way for any individual to view street art images nearby. This is accomplished by surfacing images that are geotagged with a longitude and latitude point. The images are gathered by user uploads, which are few, and scraping Instagram, which provides many.

The current method of dealing with this is very fragile and will be updated accordingly.
I have created a series of scripts that use a major image uploading platform as a datasource for discovering new images. I use the user generated categorization system to identify content that may be associated to street art or graffiti, and index the content that is associated with location metadata.
To manage the scraping process, I use a python script that manages rate-limits to the image service. The python script runs as a linux process on my server and stores images in the file system. Once the image and the post metadata is downloaded, the script does a second server request for the location details. The location is stored on the image as an ID and requires a second lookup to get the corresponding coordinates.
The downloaded images are uploaded to the Rails application and indexed accordingly through a second python script that runs in a Python Notebook. This is very unusual for any python developer, but surprisingly works very well.
I have a Jupyter server running on my linux machine that iterates through the scraped images, uploads them to the Public Art backend server, then prepares the location metadata and updates the corresponding images.
Machine Learning
Originally this project was meant to have more of a machine learning component, but getting all the other parts right has been priority. I’ll be doing some stuff related to search and object detection soon. I’ll also be using more model evaluation to handle flagging content that isn’t machine learning.
Conclusion
I’ve been doing some additional experiments with ads and promotion which I’ll write about some other time.

